My use case is that I want to run a simple Python script as a Databricks job. So no Python wheels and definitely no notebooks. This could be useful for testing/debugging a smaller code sample or for one-time scripts for operational adjustments.
This was previously pretty simple with the use of the dbx CLI tool but work on that tool seems to have stopped and the recommendation is to use Databricks Asset Bundles
Databricks Asset Bundles may have it’s place but it felt too big for my use case and I decided to try out the new Databricks SDK for Python.
The solution is quite simple and can be seen below. I’ll break down what it does (and other considerations) in the rest of this post.
from databricks.sdk import WorkspaceClient
from databricks.sdk.service.workspace import ImportFormat, Language
from databricks.sdk.service.jobs import Task, SparkPythonTask
from databricks.sdk.service.compute import ClusterSpec


def main():
    # Initialize the workspace client
    w = WorkspaceClient()

    # Open the job.py file and read its content
    with open("job.py", "r") as f:
        content = f.read()

    # Copy to a new location in the workspace
    w.workspace.mkdirs("/Shared/Scripts")
    w.workspace.upload(
        path="/Shared/Scripts/job.py",
        content=content,
        format=ImportFormat.RAW,
        language=Language.PYTHON,
        overwrite=True,
    )

    # Specify the job cluster specification
    cluster_spec = ClusterSpec(
        num_workers=1,
        spark_version="15.4.x-scala2.12",
        node_type_id="Standard_D4ds_v5",
    )

    # Specify the job task
    spark_python_task = SparkPythonTask(
        python_file="/Shared/Scripts/job.py",
        parameters=[],
    )
    task = Task(
        task_key="test",
        new_cluster=cluster_spec,
        spark_python_task=spark_python_task,
    )

    # Create or update the job
    job_name = "Test Job via SDK"
    job_id = None
    for job in w.jobs.list():
        if job_name == job.settings.name:
            job_id = job.job_id
            break

    if job_id:
        job_settings = w.jobs.get(job_id).settings
        job_settings.tasks = [task]
        w.jobs.reset(job_id, job_settings)
    else:
        w.jobs.create(name=job_name, tasks=[task])


if __name__ == "__main__":
    main()
Setup
To utilise this script to create a job in a Databricks workspace:
- Install the Databricks CLI
- Ensure you have a Python environment
- Install the Python package databricks-sdkin your Python environment
- Copy the URL of your workspace (e.g.
https://<databricks-instance>.cloud.databricks.com) - Use the Databricks CLI to authenticate:
- Run
databricks auth login - For
Databricks profile name:pressEnterwhich will select the default profile - For
Databricks hostpaste the URL of your workspace - You will be redirected to authenticate in your browser
- Once authentication has succeeded, you can check the contents of your
.databrickscfgfile ( default location for this file is in your~(your user home) folder on Unix, Linux, or macOS, or your%USERPROFILE%(your user home) folder on Windows) - there should be an entry matching your workspace URL
- Run
- Copy the Python script to a file (example
main.py) and run it (examplepython main.py) - You should see a new job in your workspace called
Test Job via SDK
Breaking it down
The setup sequence:
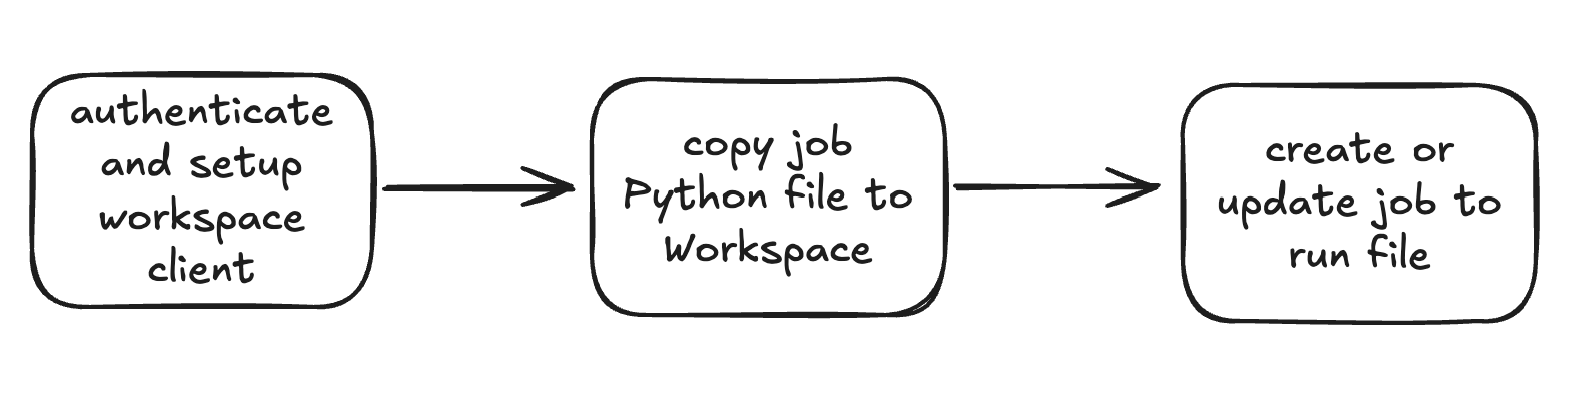
Authenticate and setup workspace client
This looks pretty simple:
w = WorkspaceClient()
When following the setup steps above, running this code will utilise the .databrickscfg file also known as a configuration profile file and will link to the workspace specified in the DEFAULT profile, utilising the stored authentication credentials.
Note that the credentials expire in a much shorter time frame than would typically be the case with personal access tokens which may mean logging in more frequently. This is more secure!
It’s possible to define additional profiles when logging in, for example, you could use this line to define a dev profile:
databricks auth login --profile dev
and then use it for the workspace client:
w = WorkspaceClient(profile="dev")
Additional authentication configurations are possible, for example with the use of environment variables. Read here for more info
Copy job Python file to workspace
In earlier times, Python files for jobs were copied to the Databricks File System (abbreviated as dbfs) but this is a deprecated pattern (see here). Instead we copy the job.py file to a workspace as a workspace file
We could have made use of Unity Catalog volumes for the Python file but decided to stick within the confines of a single workspace. For more on volumes, see here
I should also note, the technique of reading in the entire Python file contents into memory with
f.read()could be problematic if the file was really big (say above 100 MB) but I consider that a different kind of use case
Create or update job to run file
Databricks jobs (or workflows in the UI) are composed of multiple tasks, hence the need to make use of the Task class. And then the SparkPythonTask is a separate dataclass for configuring the Task instance.
Unfortunately there isn’t a direct way to override an existing job based purely on name so I had to retrieve a list of jobs and then get the job ID based on the name.
The job ID can be used with reset to configure the job. reset involves a full update of all job settings, partial updating of these settings can be done with update.
Cluster spec
I use a cluster spec for defining a Job Cluster when running the job which defines a single node cluster.
Should I had wanted to trigger repeated runs using an already running cluster I could have configured the code so:
...
    cluster_id = "<id of all-purpose cluster>"

    spark_python_task = SparkPythonTask(
        python_file="/Shared/Scripts/job.py",
        parameters=[],
    )
    task = Task(
        task_key="test",
        existing_cluster_id=cluster_id,
        spark_python_task=spark_python_task,
    )
...
Note, a working code sample along with a job.py and requirements.txt can be found here